

How to Recover Deleted Files — Step by Step Guide for Windows and Mac
- 17 hrs ago|
- By Yjagadeesh
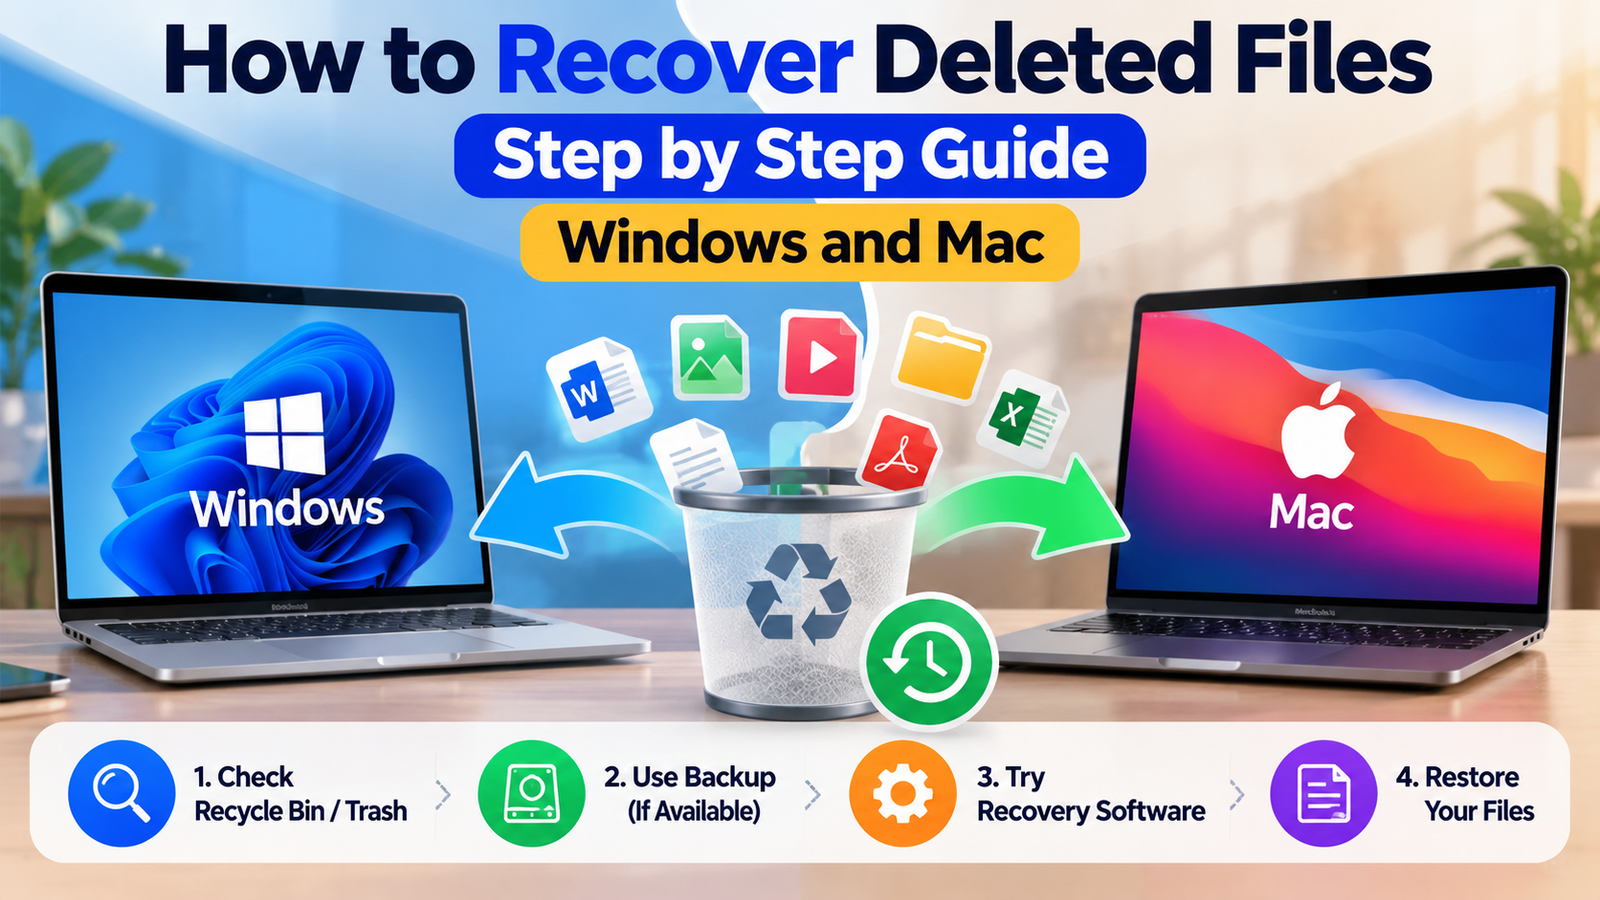
Deleted files can be recovered because deletion rarely erases data immediately it usually just removes the file's reference while the actual data stays on the drive until it's overwritten. This guide covers exactly how to recover deleted files:
- Checking the Recycle Bin or Trash first
- Restoring files from File History, Time Machine, or cloud backups
- Using free and paid data recovery software on Windows and Mac
- Recovering files from a formatted or emptied drive
- What to do immediately to maximize your chances of success
If you've just deleted something important, the single most critical thing to know is this: stop using that drive right now. Every new file you save, every download, every temporary file your system creates has the potential to overwrite the deleted data permanently. With that in mind, let's walk through exactly how to get your files back.
Why Deleted Files Are Often Still Recoverable
When you delete a file on Windows or Mac, the operating system doesn't instantly wipe the data from your storage drive. Instead, it marks the space the file occupied as "available" for new data. The actual content remains physically present on the disk until something else gets written over it.
This is why file recovery works at all and it's also why time matters so much. The longer you continue using a device after deleting a file, the more likely that space gets overwritten by new data, making recovery harder or impossible.
Solid-state drives (SSDs) complicate this slightly. Many modern SSDs use a feature called TRIM, which proactively clears deleted data blocks to improve performance meaning recovery windows on SSDs can be shorter than on traditional hard drives. Still, recovery is often possible if you act quickly.
Step 1: Check the Recycle Bin or Trash First
Before trying any recovery software, always check the obvious place first.
On Windows:
- Open the Recycle Bin from your desktop
- Look for the deleted file by name or sort by "Date deleted"
- Right-click the file and select Restore to send it back to its original location
On Mac:
- Open Trash from the Dock
- Locate the file you deleted
- Right-click (or Control-click) and select Put Back
This step sounds basic, but it resolves the vast majority of "how to recover deleted files" situations instantly. Files only bypass the Recycle Bin or Trash if you used Shift+Delete on Windows, emptied the Trash on Mac, or deleted the file from a removable drive or network location, which typically skip these intermediate storage areas entirely.
Step 2: Check Built-In Backup Tools
If the file isn't in the Recycle Bin or Trash, your next step is checking whether your operating system has been automatically backing up your files in the background.
Windows — File History
File History is a built-in Windows feature that, when enabled, automatically saves copies of files in your personal folders over time.
To recover a file using File History:
- Type "Restore your files with File History" into the Windows search bar and open it
- Navigate to the folder where the file used to be
- Use the arrows to browse through different saved versions
- Select the file and click the green Restore button
If File History is unavailable, Microsoft's Windows File Recovery guide explains another option for attempting to recover deleted files from local storage.
Mac — Time Machine
Time Machine is Apple's built-in backup utility, and if it's been running, recovering a deleted file is often just a few clicks away.
To recover a file using Time Machine:
- Connect your Time Machine backup drive if it's external
- Open Time Machine from the menu bar or Spotlight search
- Navigate to the folder where the file used to exist
- Use the timeline on the right side of the screen to go back to a date before the file was deleted
- Select the file and click Restore
Both of these tools only work if they were actively running before the deletion happened, which is why enabling automatic backups going forward is one of the best long-term protections against this exact problem.
For additional instructions, Apple's guide to recovering files with Time Machine explains how to locate and restore items from backups.
Step 3: Check Cloud Storage and Sync Services
If your file was stored in a cloud-synced folder, there's a good chance it's recoverable directly from the cloud provider's own trash or version history independent of your local device entirely.
Google Drive:
- Go to drive.google.com
- Click Trash in the left sidebar
- Find the file, right-click, and select Restore
- Google Drive typically retains deleted files in trash for 30 days before permanent deletion
Cloud storage services also help users share and manage files across devices, making it easier to access important documents when needed.
You can also follow Google's instructions for recovering deleted files in Google Drive if the missing file was stored in your Drive account.
Microsoft OneDrive:
- Sign in to onedrive.com
- Click Recycle bin in the left sidebar
- Select the file and click Restore
- OneDrive generally keeps deleted files for 30 days as well
Dropbox:
- Log in to dropbox.com
- Click Deleted files in the left sidebar
- Locate the file and click Restore
- Dropbox's free plan typically retains deleted files for 30 days, while paid plans may offer extended history
iCloud Drive:
- Go to icloud.com and sign in
- Open iCloud Drive
- Click Recently Deleted in the sidebar
- Select the file and choose Recover
If your deleted file was synced through any of these services, checking the cloud trash should always come before downloading third-party recovery software it's faster, free, and far less risky than digging into your drive's raw data.
Step 4: Use Free Data Recovery Software
If the file isn't in the Recycle Bin, Trash, local backups, or cloud storage, it's time to use dedicated recovery software. These tools work by scanning your drive for data that hasn't yet been overwritten, even after it's been "deleted."
Best free recovery tools for Windows:
- Recuva — One of the most widely used free recovery tools, known for its simple interface and deep scan mode that can recover files even after a drive has been formatted
- Windows File Recovery — Microsoft's own command-line recovery tool, more technical to use but effective for recovering recently deleted files, especially on NTFS drives
- PhotoRec — Free and open-source, particularly effective at recovering photos, videos, and documents across multiple file systems
Best free recovery tools for Mac:
- Disk Drill (free tier) — Offers a free preview of recoverable files before requiring payment to actually restore them
- PhotoRec — Also available for Mac, and works identically to its Windows version through a command-line interface
- TestDisk — A companion tool to PhotoRec, useful for recovering entire partitions, not just individual files
General steps when using recovery software:
- Download and install the recovery tool onto a different drive than the one you're recovering from, never the same drive this avoids overwriting the very data you're trying to save
- Select the drive or folder where the deleted file was located
- Run a deep scan, which takes longer than a quick scan but finds significantly more recoverable data
- Preview the recoverable files if the software allows it, to confirm you've found the right one
- Restore the recovered file to a different drive than the original, not back to the same location
That last point is worth repeating because it's the single most common mistake people make during recovery: saving the recovered file back onto the same drive you're scanning, which risks overwriting other recoverable data still sitting in that free space.
Step 5: Consider Professional Data Recovery Services
For situations involving physically damaged drives, critical business data, or files that free software simply can't locate, professional data recovery services are worth the investment.
These services typically involve:
- Sending your physical drive to a specialized lab
- Technicians working in cleanroom environments for physically damaged drives
- Significantly higher success rates for complex failures like a drive that won't power on at all
- Costs that can range from a couple hundred dollars to over a thousand, depending on the severity of the damage
This route makes the most sense when the data is genuinely irreplaceable family photos with no backup, critical business files, or legal documents and when free software has already failed to recover what you need.
What to Avoid When Trying to Recover Deleted Files
A few common mistakes can turn a recoverable situation into a permanent loss:
- Don't save new files to the same drive you're trying to recover data from
- Don't install recovery software directly onto the affected drive — install it elsewhere and scan the drive remotely
- Don't run disk cleanup, defragmentation, or optimization tools on the drive before attempting recovery, since these processes actively overwrite free space
- Don't wait too long — the probability of successful recovery decreases the more the drive continues to be used
- Don't assume formatting means permanent loss — formatted drives are frequently still recoverable using the same deep-scan recovery tools described above
How to Prevent This From Happening Again
Once you've recovered your file or learned the hard lesson that it wasn't recoverable it's worth setting up safeguards so you're never in this position again.
- Enable File History on Windows or Time Machine on Mac so automatic backups are always running
- Use a cloud storage service like Google Drive, OneDrive, or Dropbox for any files you can't afford to lose
- Follow the 3-2-1 backup rule: three copies of your data, on two different types of storage, with one copy stored offsite or in the cloud
- Empty your Recycle Bin or Trash periodically, but only after confirming you no longer need anything inside it
- Consider an external backup drive for large files that aren't practical to store in the cloud
- When sharing important documents with others, it is also worth considering secure mobile messaging apps and their privacy features.
Frequently Asked Questions
1. Can I recover deleted files after emptying the Recycle Bin?
Yes, in many cases. Emptying the Recycle Bin removes the file's reference, but the underlying data often remains on the drive until it's overwritten. Free recovery tools like Recuva or PhotoRec can frequently retrieve these files, especially if you act quickly.
2. How long are deleted files recoverable?
There's no fixed timeframe it depends entirely on how much the drive has been used since deletion. On a drive that continues to be actively used, overwriting can happen within hours or days. On a drive that's left untouched, files may remain recoverable for months or even years.
3. Can deleted files be recovered from a formatted hard drive?
Often, yes. Formatting typically clears the drive's file system table rather than erasing the actual data underneath. Deep-scan recovery tools can frequently locate and restore files even after a full format, provided the drive hasn't been heavily used since.
4. Is it possible to recover deleted files for free?
Yes. Tools like Recuva, PhotoRec, and TestDisk are completely free and can recover a wide range of file types on both Windows and Mac. Paid tools often add convenience features like file previews and faster scanning, but free options are genuinely capable for most common recovery situations.
5. Why can't some deleted files be recovered?
Files become unrecoverable when the space they occupied has been overwritten by new data. This happens naturally through normal computer use, software updates, or disk optimization processes. SSDs with TRIM enabled can also permanently clear deleted data faster than traditional hard drives.
6. Does deleting a file on a phone work the same way as on a computer?
Not exactly. Most smartphones encrypt data by default, which makes recovering permanently deleted files significantly harder than on a traditional computer. However, many phones have their own "Recently Deleted" folders for photos that function similarly to a Recycle Bin, so always check there first.
7. Should I turn off my computer immediately after deleting an important file?
If the file is extremely critical, powering down and avoiding further use of that drive can help prevent accidental overwriting while you arrange for recovery software or professional help. For most everyday situations, simply avoiding new downloads or saves to that drive is sufficient.